
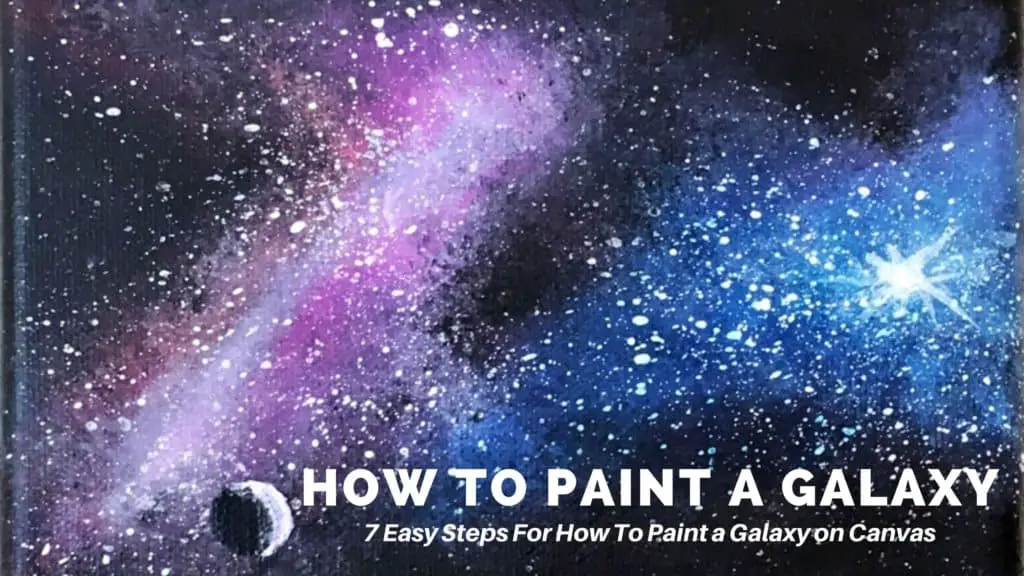
Learning how to paint a galaxy is one of the easiest and quickest beginner painting projects you can do.
There are 7 basic steps for how to paint a galaxy on a canvas with acrylic paints.
When trying something new I usually like to start with a small 5″x 7″ canvas and work my way up to larger pieces later on. Of course, it is entirely up to you on what you’re comfortable with.
Just make sure whatever size canvas you choose that you don’t feel scared or intimidated by it. It is important to let yourself make mistakes when working on any beginner painting projects you try.
Just be sure to have a canvas and some paints to work with!
I use Liquitex Basic Acrylic paints but any heavy bodied paint will do just fine.
There are also a few tools you will need as well to get the galactic effects we want. Well two basic tools to be specific!
- A sponge. This can be the natural sea and synthetic artist sponges or you can even make do with a regular household sponge. I recommend painters sponges like the ones in the picture here.
- A toothbrush. I find this is the easiest way to create a bunch of stars. Some will advise you to use one of your paint brushes for this but I have never gotten that to work quite as well.
With just these two tools we can do most of the work and get the effects we are looking for.
The sponge is for the gas clouds while the toothbrush is for our stars!
Now that you have your paints, your preferred size canvas, your sponges, and your toothbrush all collected you are ready to get started.
At this point, you may be wondering what colors you will need to make a galaxy painting…
The cool thing about painting galaxies is you can do pretty much whatever you want. It is a very forgiving subject to paint and easy to fix any mistakes.
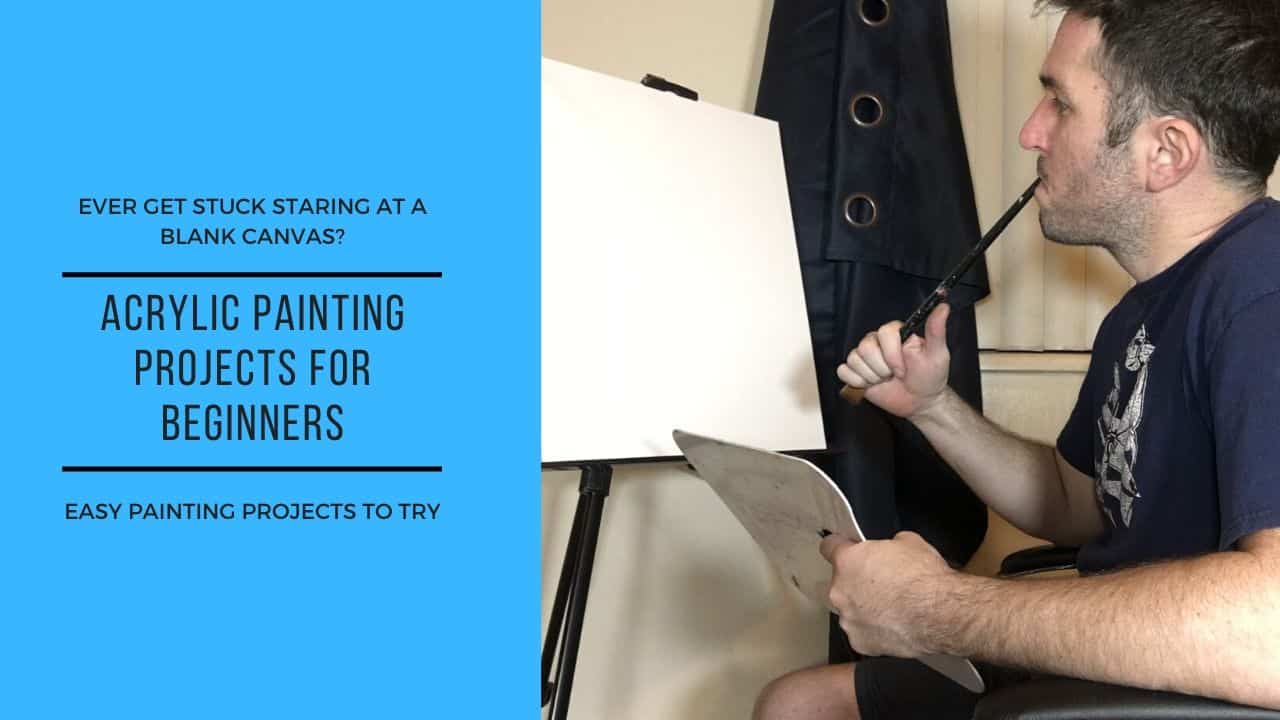
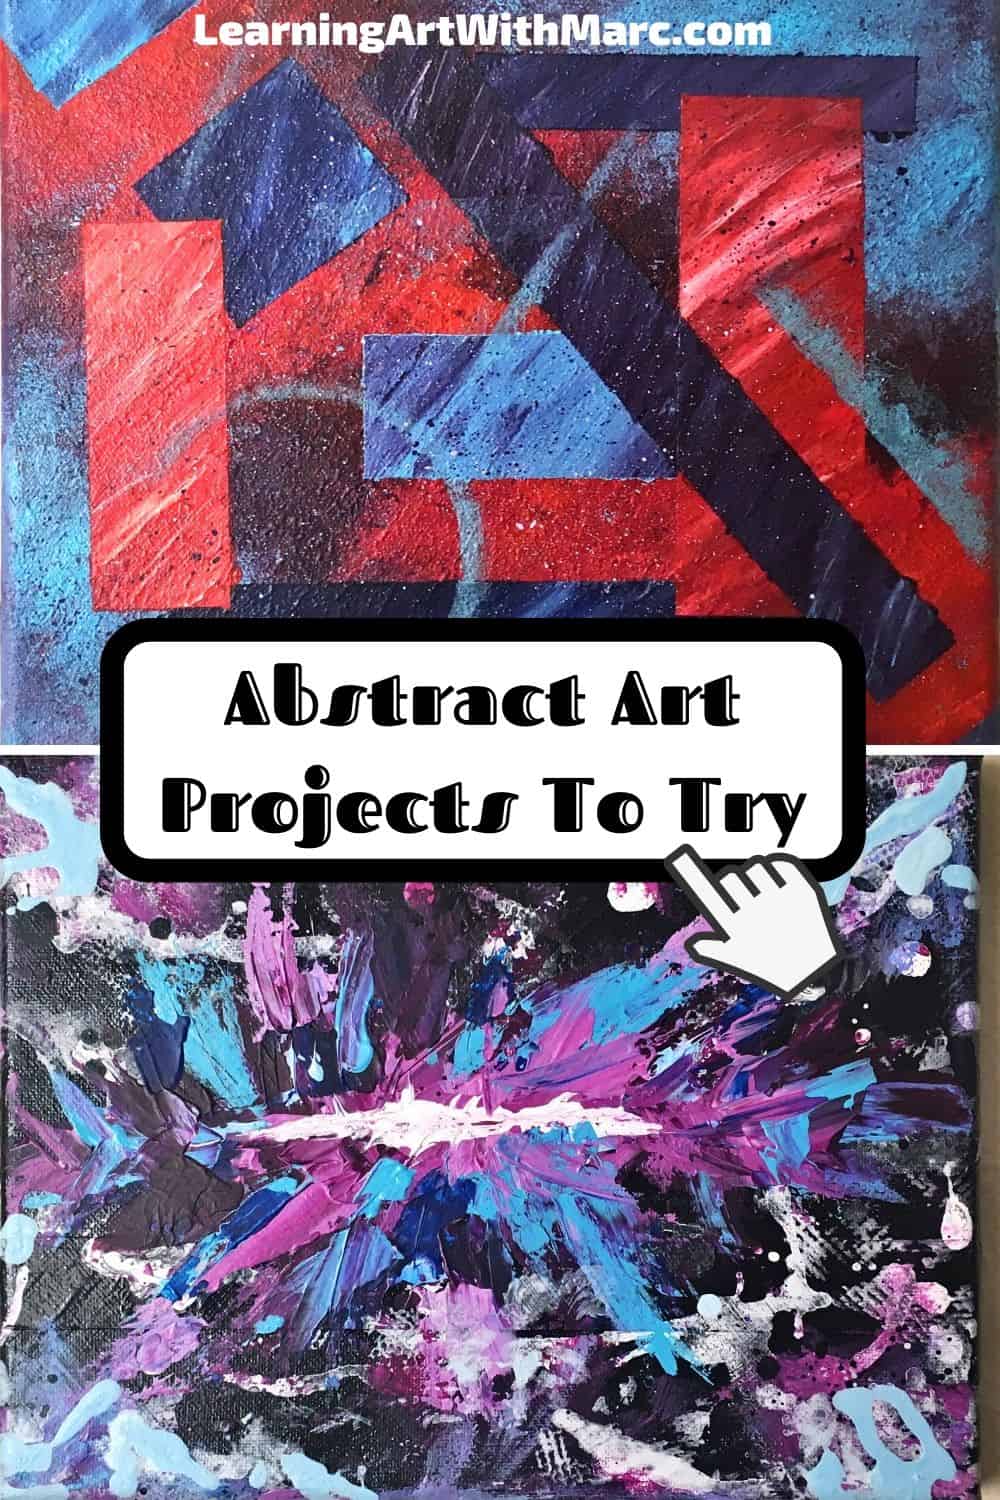
Almost as forgiving as abstract paintings are! Which by the way are another great painting project for beginners to try.
I highly recommend trying out some abstract art projects when you get bored being the master of galaxies.
You may find your abstract practices lend a hand to your galaxy making skills and vice versa.
Another thing that will help with the creation of your galaxies it studying various pictures we have of real galaxies.
Taking some time to look at actual pictures of real galaxies as well as those others have painted will equip your visual library with the necessary information to create your own.
This will help give you a good idea of some of the colors you may want to go with as well.
Related Articles:
- How To Paint A Moon Suspended In Space In 8 Easy Steps
- Painting Planets With Acrylics
- How To Paint A Galaxy (Easy Step By Step Guide) New Version!
- Acrylic Painting For Beginners – Your Guide to Getting Started
- Blue and Red don’t ALWAYS Make Purple! (How To Mix Purple)
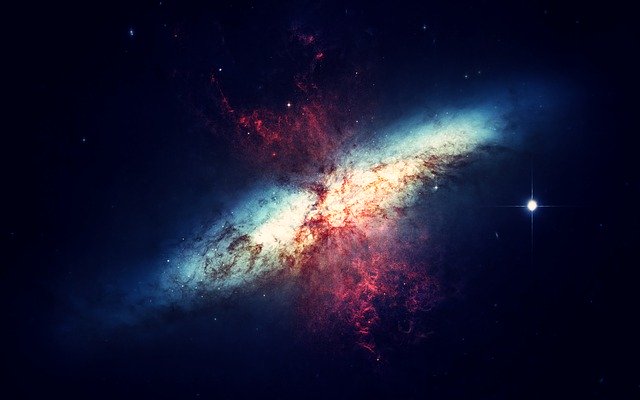
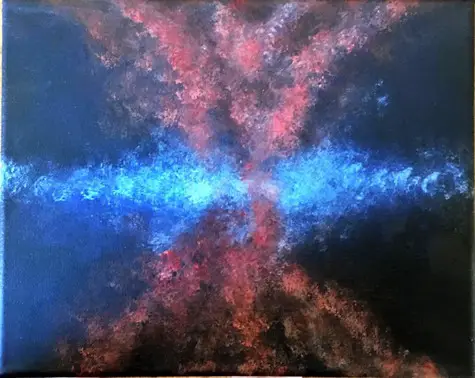
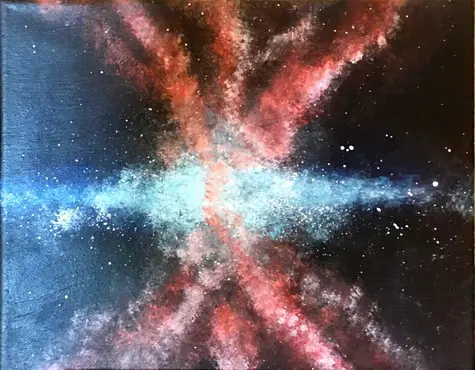
Here is an example of a starburst galaxy called Messier 82. It is 12 million light years away in the constellation Ursa Major!
As you can see there are layers of light blue, red, white, maybe some hints of purple.
This is the reference I used for this demonstration.
One of the cool things about painting and drawing is you often will find yourself getting interested in the subject more than you may have been before. Before you know it you’re looking little details up like the ones above.
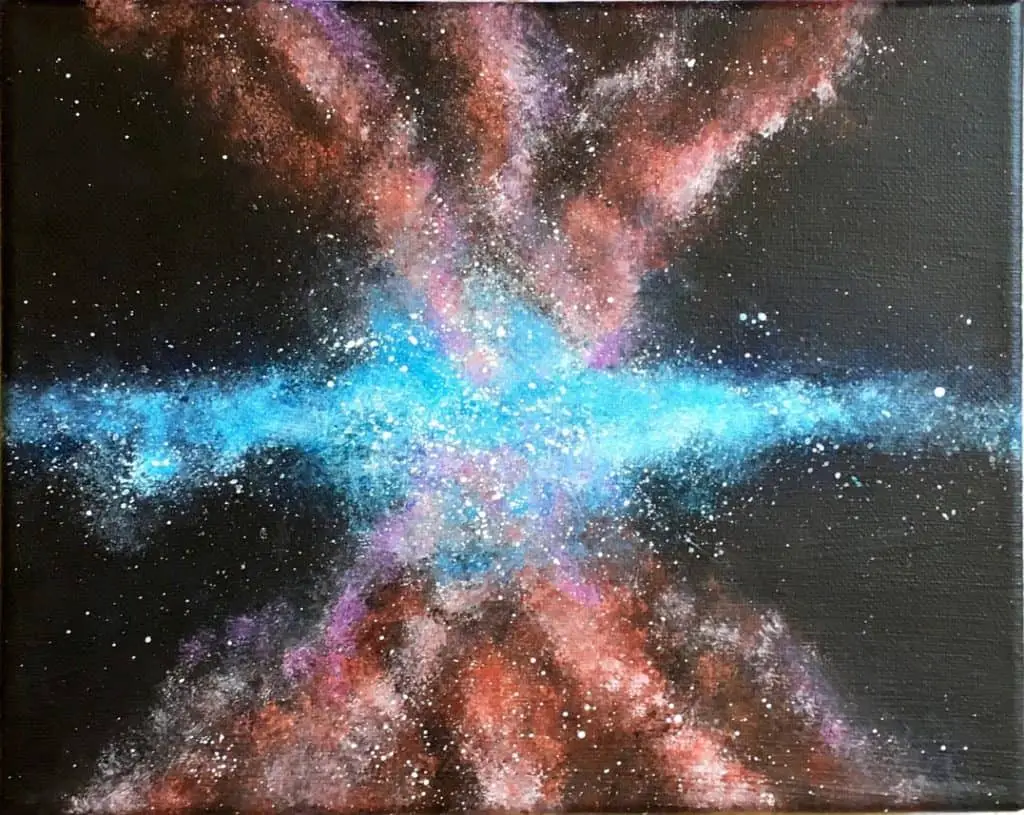
When it comes to getting started with your painting, keep in mind some basic rules of composition like the rule of thirds. I forget about that sometimes.
In the picture above the way it is framed at a slant is far better composition wise then what I ended up doing. The bright star slightly to the right punctuates the image a bit too.
You will see more of what I mean when we get to the steps below. Just a bit more about color options.
Here is just one more example of how you can pretty much go with whatever colors you want.
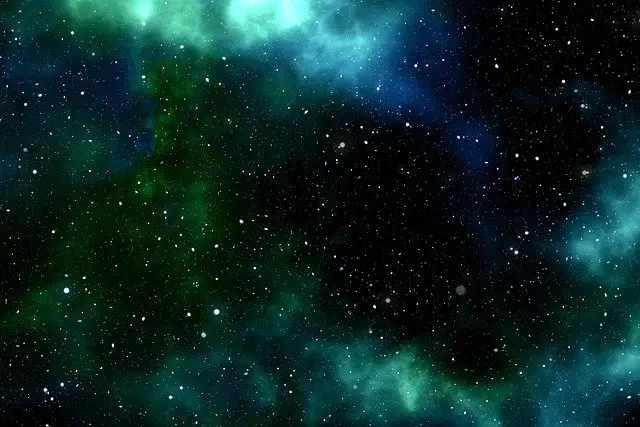
As you can see from the pictures, there are a variety of options when it comes to the color pallet you would like to work with. This one is a mix of blue and green!
Purples, blues and reds are all great colors to go with. You can go monochromatic and use only shades of blue or only shades purple.
You can go with a more analogous colors like light blue, blue and purple. You of course also want black and white was well for your background and stars.
This is a good beginner painting project to help start your understanding of blending and mixing of colors. It can lay the foundation for other paintings later as well. Helping one to get a handle on the different techniques to create a starry night sky for a nighttime landscape painting as an example.
For me, I’m just a geek that would love to eventually be able to create paintings of space-faring civilizations. Now, I want you to tap into your godlike creative powers and use the following steps to create your very own universe.
Below you will find a video with the steps demonstrated as well as the steps written out below that!
7 Easy Steps For How To Paint A Galaxy
After doing a number of these paintings these steps are super easy to follow and will get you from mere mortal status up to godlike powers of creations!
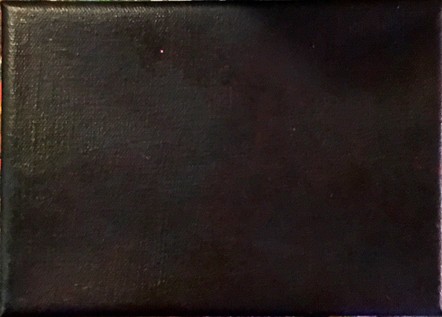
STEP 1: You want to start simply with a black canvas.
You can either buy black canvas or very simply throw on a layer of black paint.
Let it dry and move on to the next step!
STEP 2: Next, you need to use your sponge to apply your darkest colors first.
You could also apply the paint with a brush and then dab it out using your sponge.
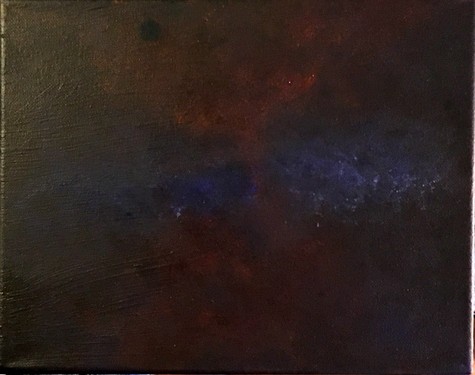
You want to have some areas heavy with the dark color and then expand out to get the gas like effect of a nebula galaxy.
You can add on a lot at once or a little at a time. It is entirely up to you. Try not to be afraid of making mistakes.
You can always paint over them!
STEP 3: Next you want to add your mid tones. When working your lighter colors on to the canvas you should consider where your stars will be going.
Think about how that light emits from those points and how it dims as it gets further away.
STEP 4: Then you want to add your brightest tones.
As you add each layer you will begin to notice how you’re starting to get this gassy effect on your canvas.
You may even begin to imagine what sort of creatures might exist in this galaxy. Let your mind wander and enjoy the process!
STEP 5: Now you want to get that toothbrush ready. We are going to add our stars!
To do this you will want to get a small cup or container to put a bit of white paint into.
Then you want to thin the paint out with a bit of water. Not too much but enough to loosen it up.
Next, take your toothbrush and dip the tip into your mixture. Be sure to let any excess paint drip off. You can also flick some off into your container.
Now when you go to apply your stars you will want to get your toothbrush pretty close to the areas of the canvas where you want your main clusters.
The brightest parts of your painting are where the most and biggest stars should be.
Once you get your clusters in you can pull the brush back further from the canvas to get a wider distribution of stars.
STEP 6: Next, you want to go and add a few more layers of colors with your sponge.
I generally will use a bit of black to darken up some of the areas of canvas where I want more black space.
I don’t totally cover the stars because when they come through the black paint after it dries it gives them the appearance of being further away.
I also tend to go over some of the colored areas as well. This helps add depth to your galaxy.
As you can see from the sequence of pictures the center of this starburst galaxy changed slightly from step 5 to step 6.
I felt that streak of red was just slightly too strong and out of place so I added a bit more blue.
STEP 7: Finally, add some larger stars with your paintbrush in areas of your galaxy that are brighter and therefore should have a larger more visible star.
You can place these wherever you want really.
Step 7 is really for putting your finishing touches on your galaxy. Touch up the gas effects a bit where needed.
Darken up anything needed as well.
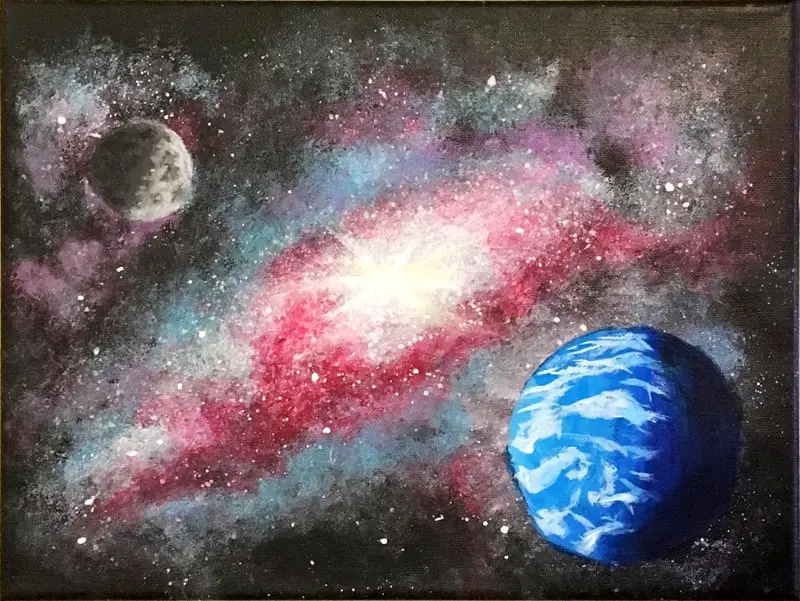
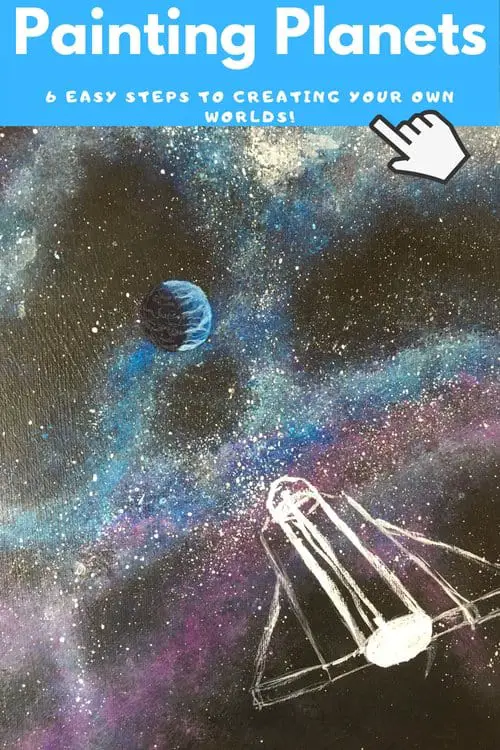
This is also the stage where you can add some planets, asteroids or even a spaceship if you feel up to the challenge! Here is the first painting I did where I added planets!
For the painting I did in the example, I felt like the Starburst Galaxy itself was enough.
I made the mistake of centering it too much and forgot about the rule of thirds. It would have been better at an angle like what was seen in the original photo.
That said, this is pretty much all there is to painting galaxies!
There is of course much more we could get into when it comes to painting a galaxy but this is the simplest approach to it.
The next thing you should try after this is learning how to paint planets!
In due time I will learn more and I will expand on this later to include space probes, spaceships, and space hotels!
Alternatively, we can do foregrounds later as well.
Perhaps a landscape under a night sky. There are a bunch of silhouette style paintings where a starry night background will be useful to know how to make.
Just as with any other subject or element we put into our paintings, there are many ways to build on this foundation. It is just a matter of taking the time to build on top of this.
Becoming a great artist is all about building up that visual library in your mind!
For now, let’s just have some fun learning the basics creating some cool galaxies on canvas! Don’t be afraid!
Journey with me into the abyss of space paintings!